This advice is a common but highly misleading and potentially dangerous “miracle cure” hack for reviving orchids (usually referring to cinnamon or sugar). While the intention is good, sprinkling a random powder on dead roots is not a magic solution. Let’s break down the science and the correct approach to saving a struggling orchid.
The Common “Spoon” Suggestions & The Reality
-
Cinnamon Powder:
-
Claim: Acts as a fungicide/antiseptic to prevent rot on cut roots.
-
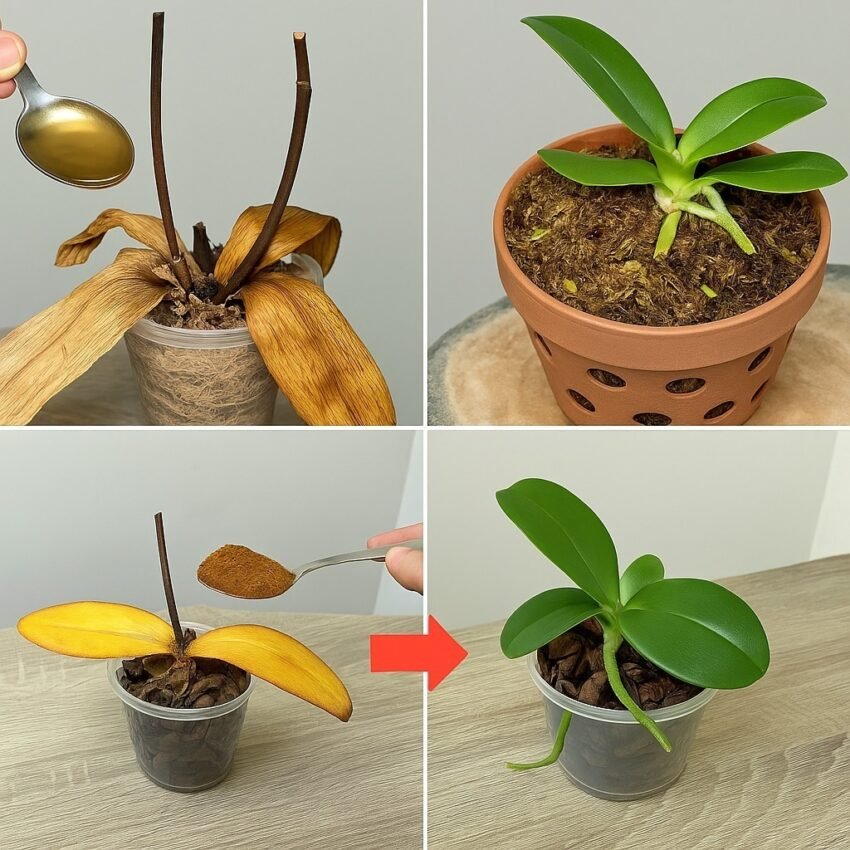
Reality: Ground cinnamon can be used as a mild fungal deterrent on fresh cuts after you’ve surgically removed all the dead, mushy roots. Sprinkling it on dead, rotten material does nothing. It won’t bring dead roots back to life.
-
-
Sugar or Honey:
-
Claim: Provides energy to stimulate new root growth.
-
Reality: This is a major fungus and mold magnet. Sugar applied to moist, dead organic matter will accelerate microbial growth and rot, killing any remaining healthy tissue. Plants produce their own sugars through photosynthesis; they don’t absorb it through roots.
-
-
Fertilizer:
-
Claim: Gives nutrients to regrow.
-
Reality: Never fertilize a sick, dehydrated orchid with no roots. It cannot absorb the nutrients, and the salts will burn any remaining healthy tissue, causing further stress.
-
The CORRECT Step-by-Step to Save an Orchid with Dead Roots
The goal is to remove all rot and create an environment that encourages new root growth. You cannot revive dead roots; you must grow new ones.
You Will Need: Clean scissors/pruners, hydrogen peroxide (3%), fresh orchid bark, a clean pot with excellent drainage, and optionally, sphagnum moss.
Step 1: Unpot and Diagnose
-
Gently remove the orchid from its pot and shake off all old media.
-
Identify Live vs. Dead Roots:
-
Healthy roots: Firm and green/silver (when dry).
-
Dead roots: Brown/black, mushy, papery, and hollow. They may smell foul.
-
Step 2: The “Surgery” (This is the critical step)
-
Sterilize your cutting tools with alcohol or flame.
-
Cut away ALL dead and rotten roots. Be ruthless. Leave only firm, healthy roots. If all roots are dead, leave the base (stem/crown).
-
Apply cinnamon (yes, here’s where it’s useful) or dab with hydrogen peroxide on the cut ends to disinfect and dry them out. Let the plant air-dry for a few hours.
Step 3: Choose a Recovery Method
-
If you have some healthy roots left: Repot in fresh, small-grade orchid bark in a clean pot. Do not overpot.
-
If you have NO roots left (a “rootless phal”): You need to encourage new root growth through high humidity.
-
Sphagnum Moss Method: Place the orchid base in a shallow bed of barely damp (wrung-out) sphagnum moss in a small pot. The moss should be fluffy, not packed.
-
Water Culture Method: Suspend the orchid base just above (not in) water in a glass/vase. Refill to maintain that level. This provides ambient humidity.
-
Step 4: Care During Recovery
-
Light: Provide bright, indirect light.
-
Water/ Humidity: For rootless orchids, focus on humidity, not watering. Mist the base lightly if the moss dries. The goal is to prevent desiccation without causing rot.
-
Patience: It can take weeks to months to see new root nubs. A new leaf is the ultimate sign of success.
The “1 Spoon” That Actually Helps
The only substance you might “spoon” on is a high-quality seaweed extract or rooting hormone (like Kelpak or a clonex gel) applied very sparingly to the base where roots emerge, after all rot is removed and during the recovery phase. This provides natural growth stimulants, not direct food.
Bottom Line: There is no magic powder. Saving an orchid with dead roots is a surgical procedure involving removal of rot, disinfection, and providing a humid environment for new growth. Skip the hacks and follow the proven process. Your orchid’s best chance is careful, patient care, not a spoonful of anything.